In this tutorial, you will learn how to install fully functional Teradata database software in your system and start practicing Teradata.
Teradata provides Teradata Express for VMware Player which is a fully operational virtual machine for Teradata. There are many versions of Teradata software available in order to download. You can download any version of the Teradata and check the functionalities.
Teradata releases images of pre-installed fully-operational Teradata system for VMware workstation player. After installing this, you can access Teradata locally using different tools like Teradata SQL Assistant, or utilities such as BTEQ, FASTLOAD, MLOAD, etc.
Prerequisite
- 64-bit virtualization capable pc. (You can check it in the BIOS setup)
- Minimum 4 GB RAM.
- VMware Workstation Player.
- Teradata 15.00.01 or any other version.
- td-ttu-15.00_for_Windows.
Teradata installation steps for Windows
To install Teradata Express for VMware Player on windows follow the following steps.
Step 1: Download any version of Teradata Express for VMware Player from the following link.
https://downloads.teradata.com/download/database/teradata-express-for-vmware-player
Note: you need to create an account in order to download Teradata software from the above link.
Step 2: Once the downloading is done, extract the zipped file and specify the target folder.
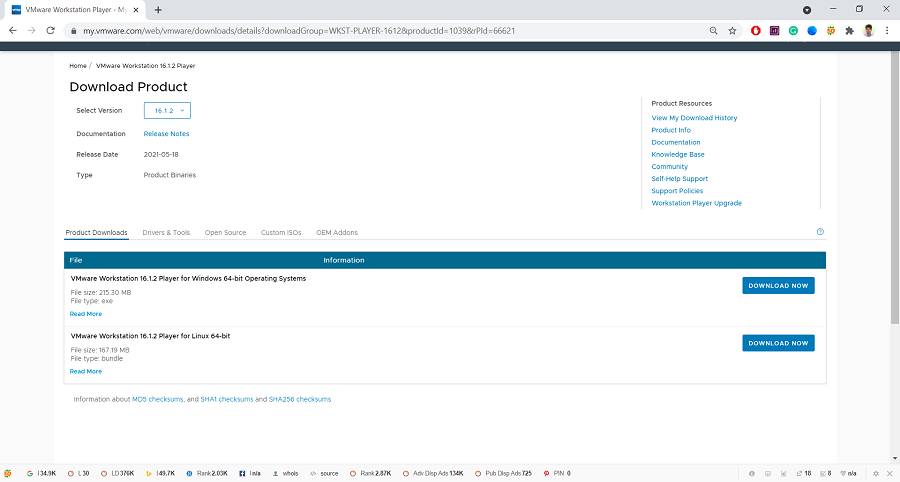
Step 3: Now, download any version of the VMware Workstation Player from the following link.
https://my.vmware.com/web/vmware/downloads
It is available for both Windows and Linux. Download the VMware workstation player for Windows.
Step 4: Once the downloading is complete, install the software as you install any software in your windows system.
Step 5: After the installation is done, run the VMware workstation player either from the desktop shortcut or from the start menu.
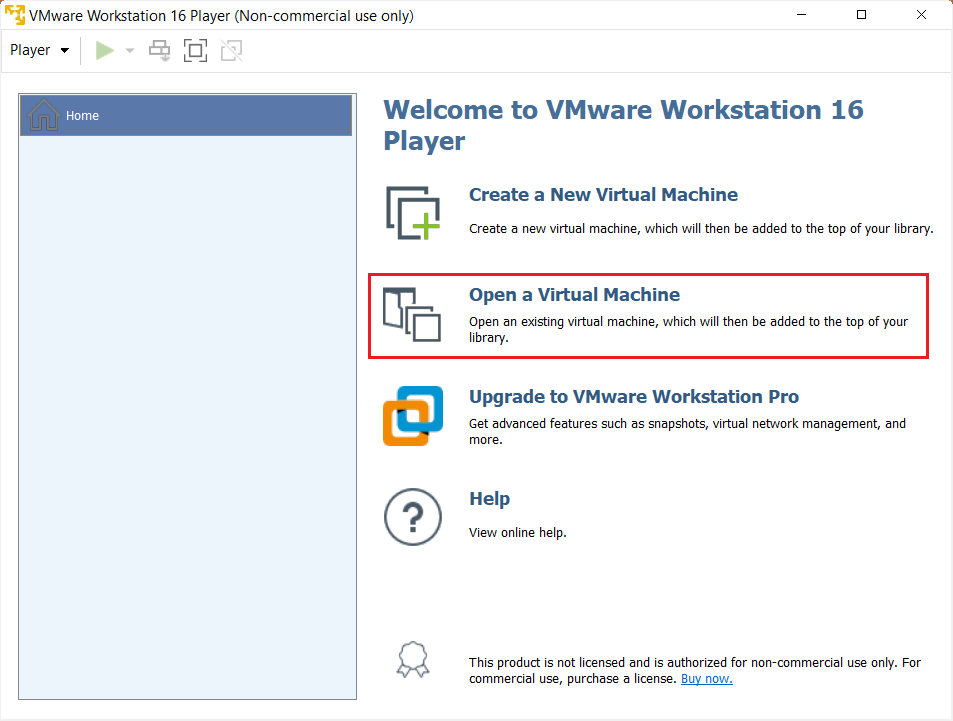
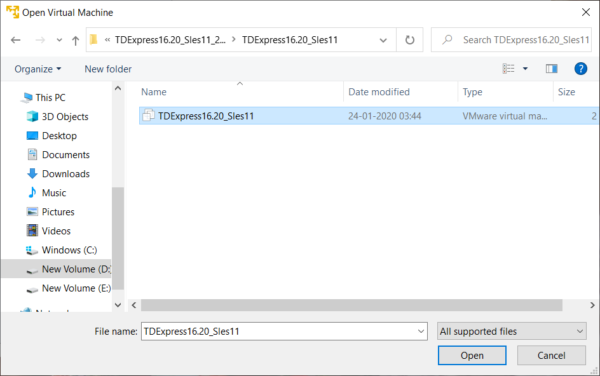
Step 6: Now choose the “Open a Virtual Machine” option. Navigate through the extracted Teradata VMware folder and select the file with extension .vmdk.
Step 7: Teradata Express is added to the VMware Workstation Player. Select the added Teradata Express and click on the “Play virtual machine” button.
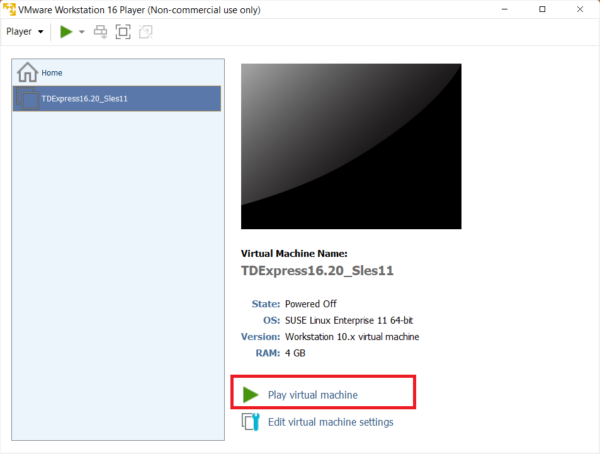
Step 8: VMware player will start the machine. It will ask for the username and password after some time. You need to provide username as root and password as root as well.
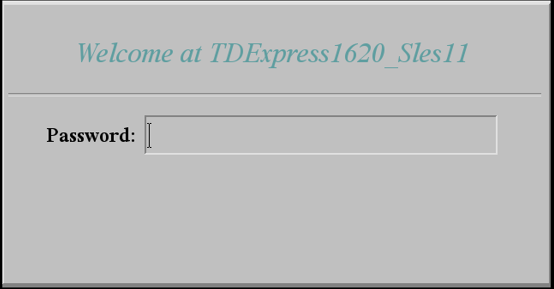
Note: while entering the password the cursor will not show anything not even dots or stars. Don’t worry, just press enter after providing the password.
Step 9: After that, the following screen will appear on the system, then double click on the “Gnome Terminal” icon.

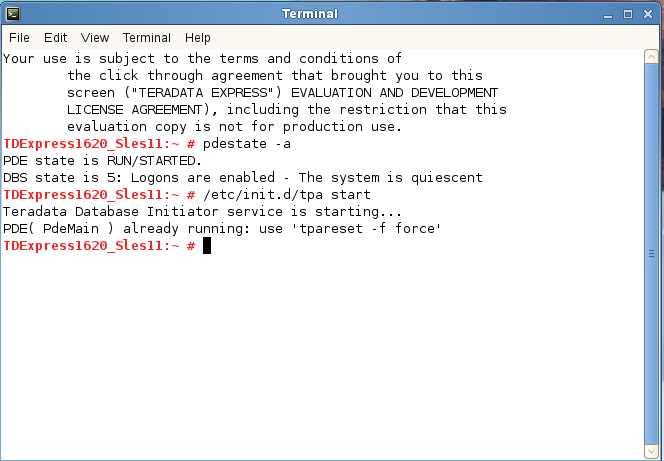
Step 10: It will open the shell, and then enter the following command to verify if the Teradata is running pdestate -a.
If not started already, you can start the Teradata database using the following command /etc/init.d/tpa start.
Teradata Tools and Utilities installation
To install Teradata Tools and Utilities, you can follow the following steps:
Step 1: Download the setup file of the Tools and Utilities in any folder using the following links. (You can download any version. I have downloaded version 16.20 for this tutorial)
Step 2: After downloading, navigate to the downloaded folder and double-click on the setup file.
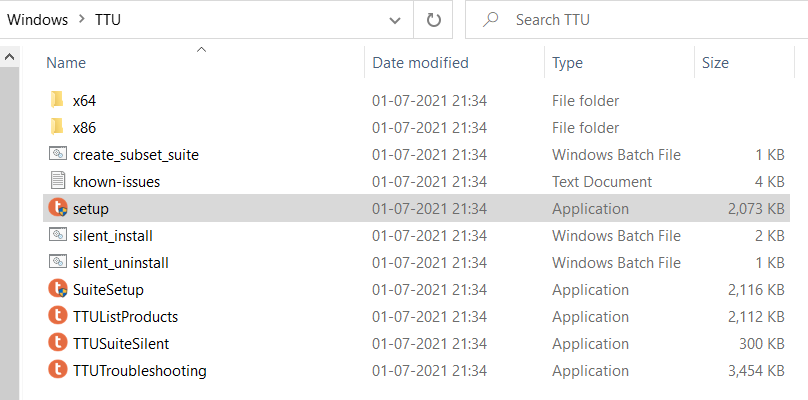
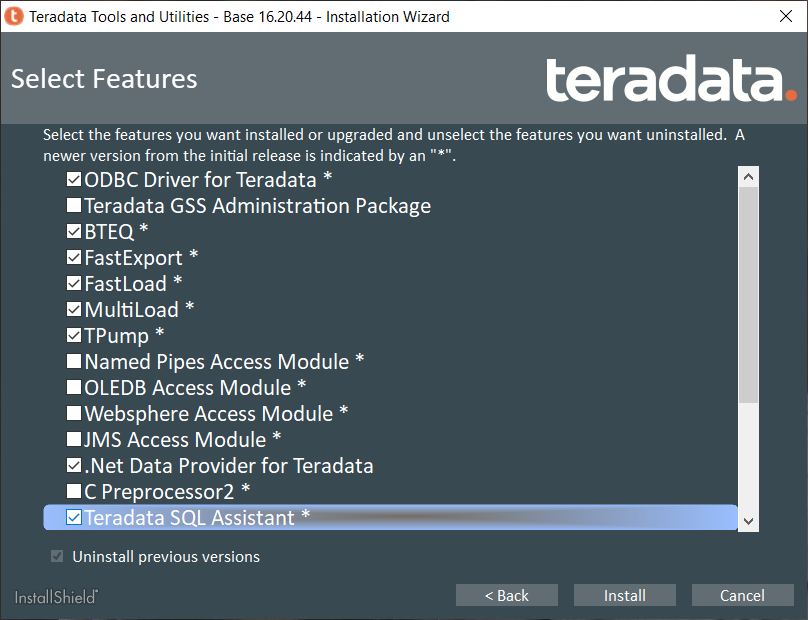
Step 3: Select the required tools and utilities and click on the install button.
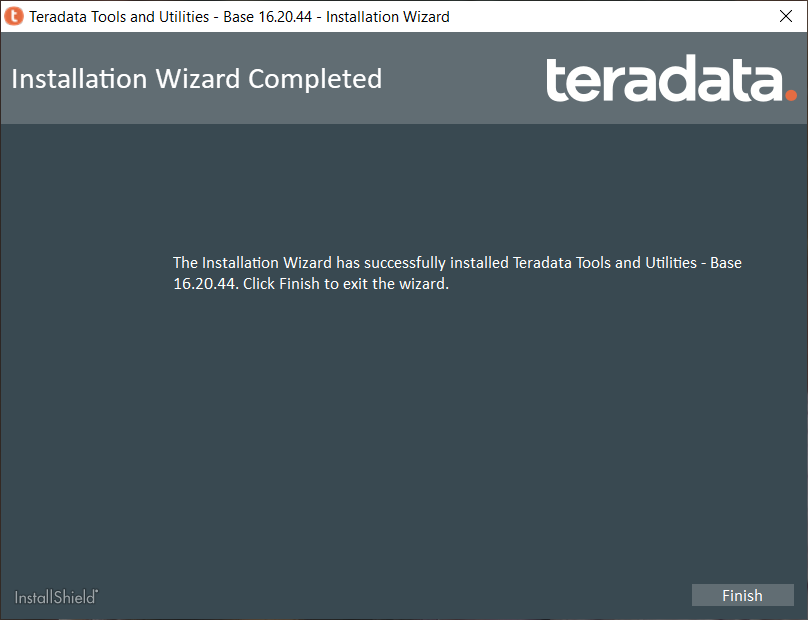
Step 4: Click on the Finish button to complete the installation process.
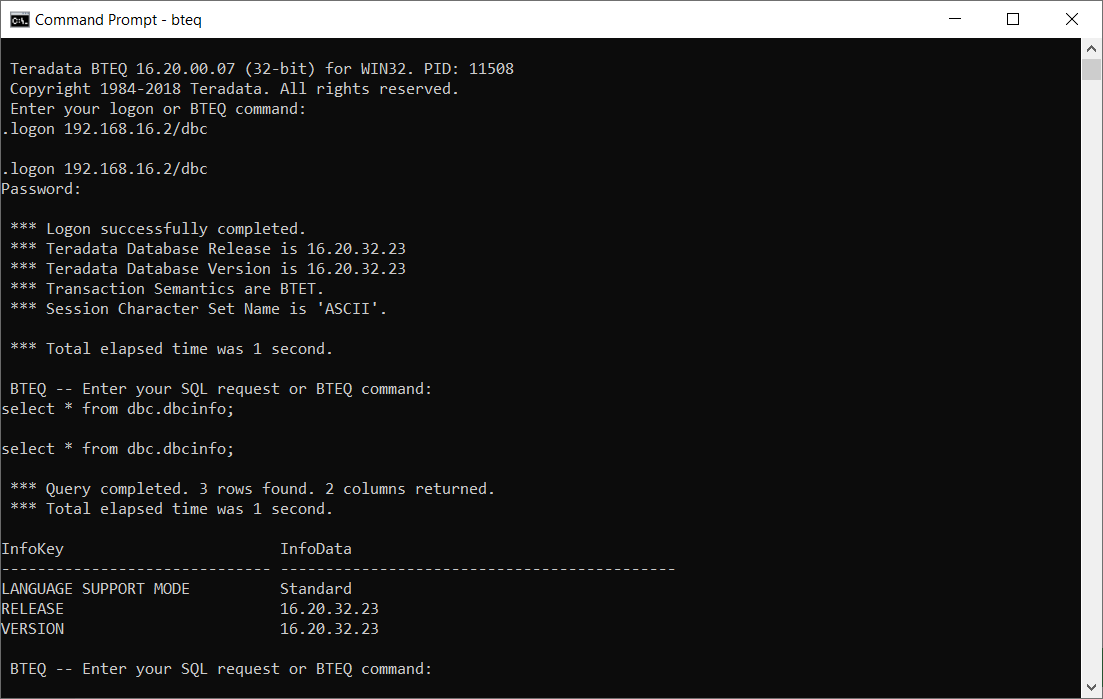
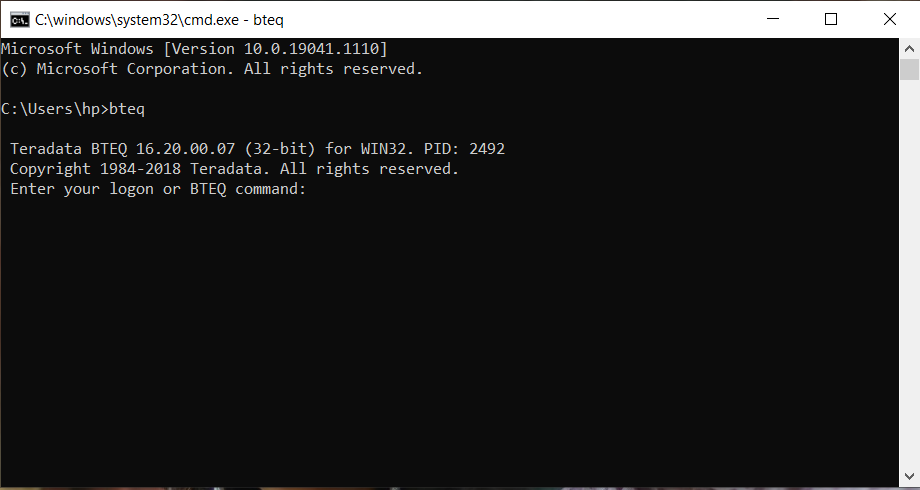
Step 5: Verify the installation by entering bteq in the command prompt.
Teradata installation: VM Network Setup
In the previous sections, you have already installed Teradata Express for VMware player and tools & utilities.
In this section, you will learn how to set up the VM network in order to access the Teradata database locally. You can the following steps.
Step 1: Click on the “Edit virtual machine settings“.
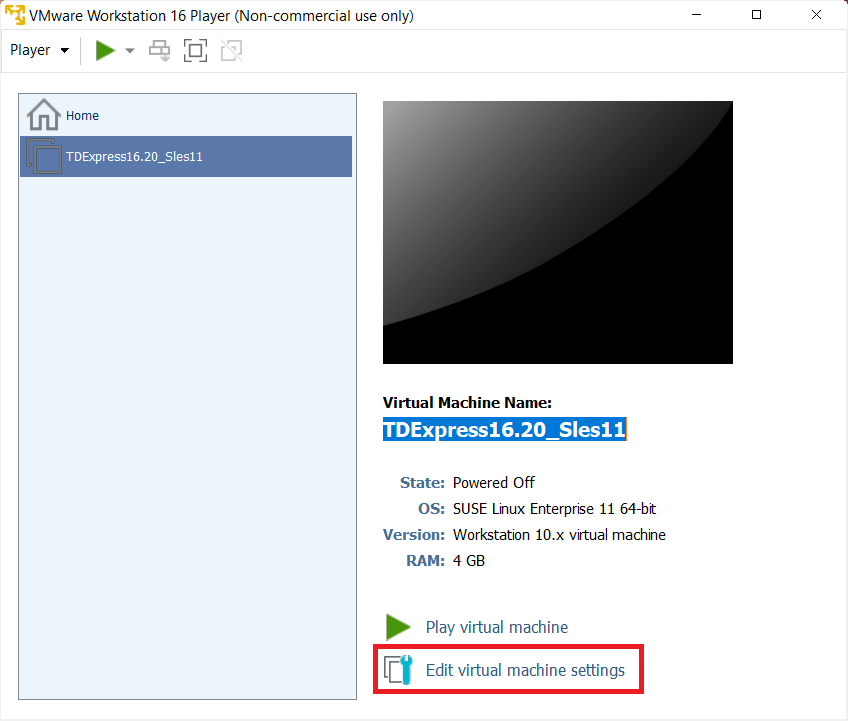
Step 2: Select Network Adapter from the Hardware section on the left-hand side. Now select VMnet8 (NAT) from the Custom: Specific vitual network as shown in the image below.
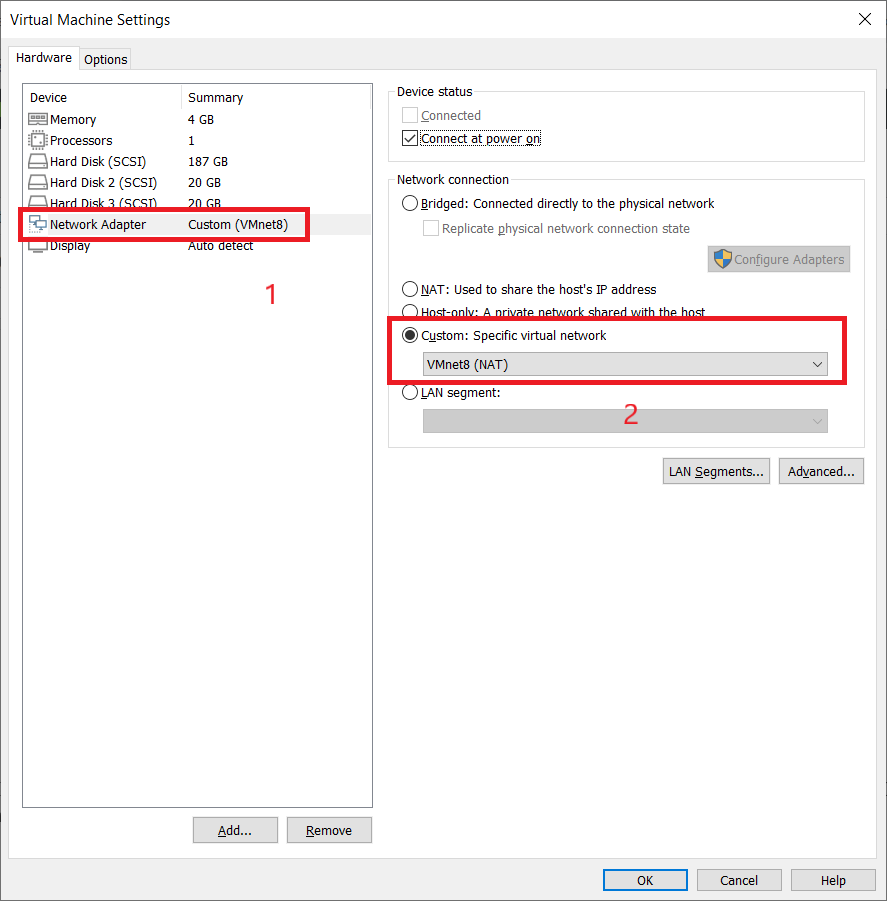
Step 3: Open the command prompt and check the IP address assigned for the virtual machine. Use ipconfig command to check the IP address for all the adapters.

Step 4: Now in the virtual machine open the network setting.
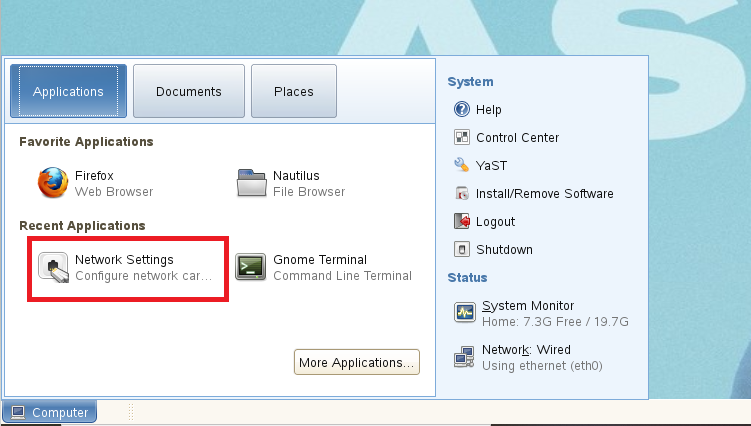
Step 5: Select the “Ethernet Network Card” and click on the edit option. And assign a static IP from the same segment as VMnet8 as per the image below. Finally, click on the Next button. This will complete the network setup.
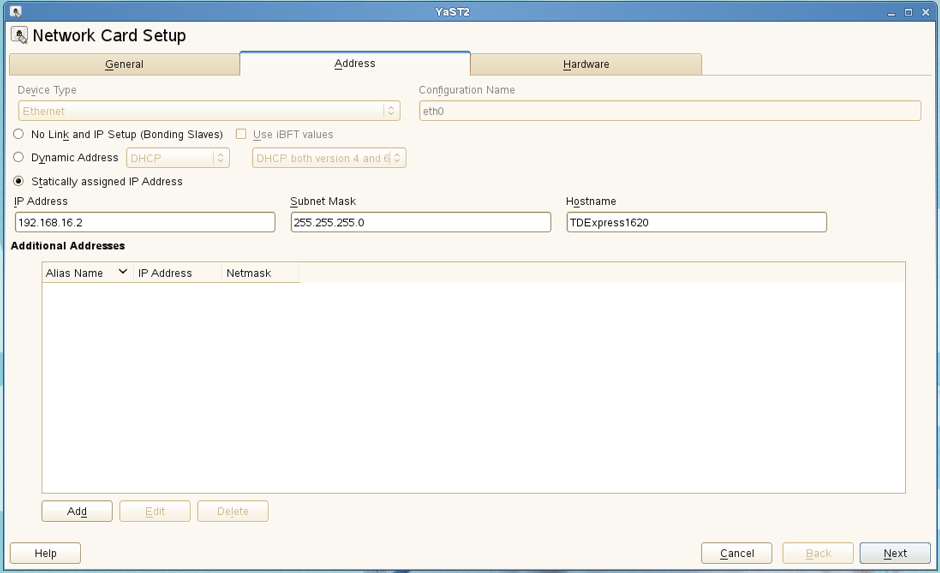
Step 6: Now check the connectivity from your local system as below.
